Always build to the supplied die line
A folding carton is cut and creased from a flat sheet, and the die line is the map of where those cuts and creases fall. Designing to your own rectangle and hoping it maps onto the die is the single most common cause of rework.
Ask for the die line before you start. It arrives as a vector file with separate layers for cut, crease, and any window, and it tells you exactly where each panel begins and ends. Place the die line on its own locked layer and never move it.
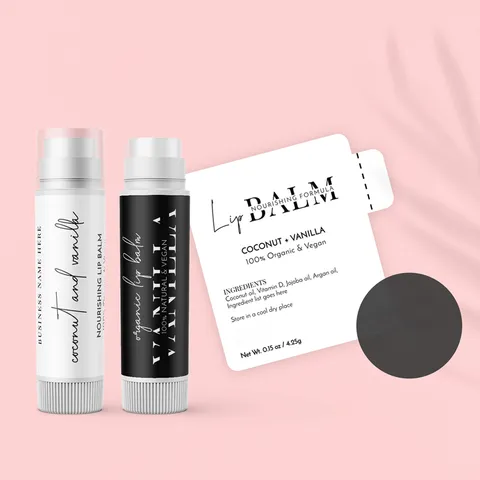
The same applies to labels and to rolled tubes. A tube template is a rectangle whose width is the circumference plus a seam overlap, not a folding die line, and elements crossing the seam will show a step.
The file specification
These are the requirements that cover almost every lip packaging job.
- Format: print-ready PDF, or native AI or EPS with all links embedded. PSD is acceptable for image-led designs at full size.
- Resolution: 300 dpi at final size for all raster content. Upscaling a 72 dpi web image does not recover detail.
- Colour space: CMYK for process work, plus named spot colours from the Pantone solid coated or uncoated library as appropriate to the stock.
- Bleed: 3 mm beyond every trimmed edge, with artwork continuing into it rather than stopping at the trim.
- Safe area: keep live text and logos at least 4 mm inside the trim on cartons and 2 mm inside the cut on labels.
- Fonts: outlined, or supplied alongside the file. Missing fonts substitute silently and the substitution is not always obvious on a proof.
- Black: use a rich black build for large solid areas and 100% K for small type, so fine type stays sharp.
Finishing needs its own layers
Foil, spot UV, embossing and opaque white are not colours. Each is a separate plate or tool, and each needs its own vector layer drawn in 100% black, named for what it is.
An unnamed extra layer gets interpreted rather than followed, and that costs a proof cycle. Name them explicitly: "foil gold", "spot UV gloss", "emboss", "opaque white". Where two overlap, say which sits on top.
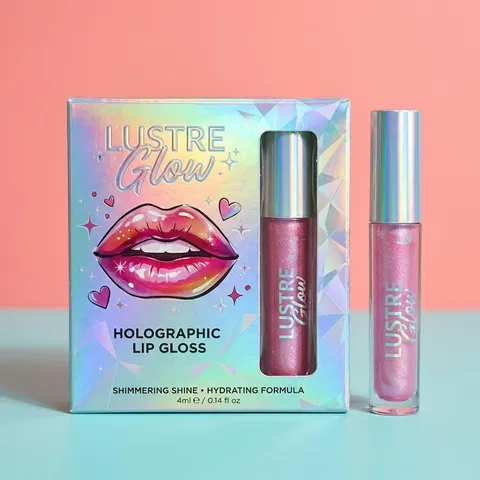
Opaque white deserves particular attention on kraft, metallised and holographic stock. Anything that must read as white, or as a true light colour, needs white printed underneath it. On holographic board an unprinted area is holographic, not white.
Regulated copy is your responsibility
A printer prints the file that was approved. Writing and checking the regulated content is the brand's job, and it is worth building time for that into the schedule rather than treating it as a formality.
For a cosmetic sold in the United States, the pack needs an ingredient declaration in descending order of predominance, the net quantity of contents, and the name and place of business of the responsible party. If the product carries an SPF claim it is regulated as an over-the-counter drug and the drug facts panel has its own layout rules. Lip masks claiming a physiological effect rather than a cosmetic one fall into similar territory.
Have that copy reviewed before you approve a proof, not after. Our artwork requirements page lists what we check for and what we do not.
Small type on small packaging
Lip packaging is small and the legal copy is long, which puts constant pressure on type size. Legibility falls off sharply below about 5 pt, and sooner on uncoated kraft where ink spreads into the fibre.
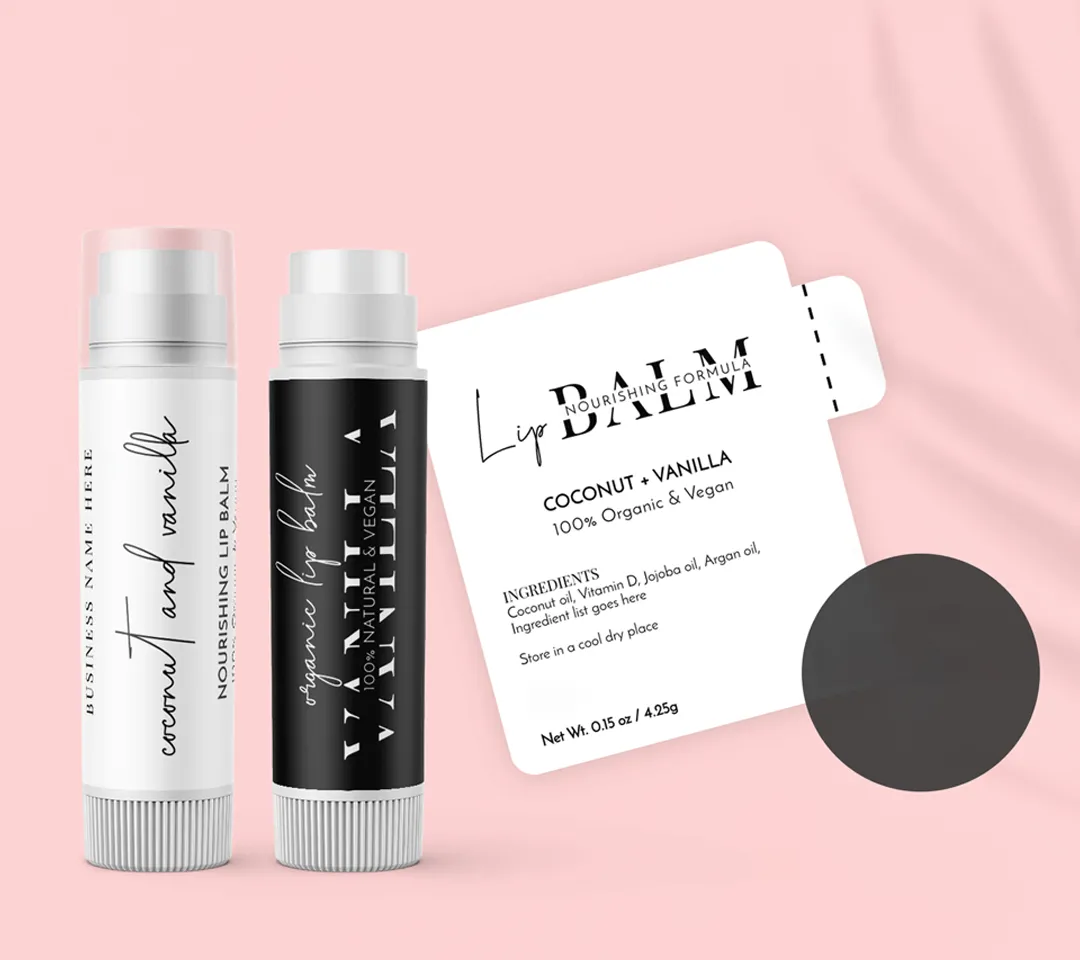
Rather than shrinking type further, the practical answers are a folded leaflet inside the carton, a peel-back multi-panel label on the container, or moving the declaration from the primary to the secondary pack. All three are cheaper than a pack that a customer cannot read.
Before you send the file
Five checks catch most problems. Confirm the die line layer is present and unmoved. Confirm bleed extends past every trim edge. Open the separations preview and confirm you have exactly the plates you intended, with no stray spot colours. Confirm the barcode sits on a flat panel with clear space and does not cross a crease. And view the file at 100% to check the smallest type.
Name the file with the product, the die line reference and a revision number. On a multi-SKU range, an outdated file being approved is a more common failure than any production error.